

How to Integrate BugMojo with Jira
Connect BugMojo to Jira so every one-click capture lands in your existing board as a reproducible issue. Here is what gets synced, the exact Create Issue REST call, and how to set it up in four steps.
What this integration does
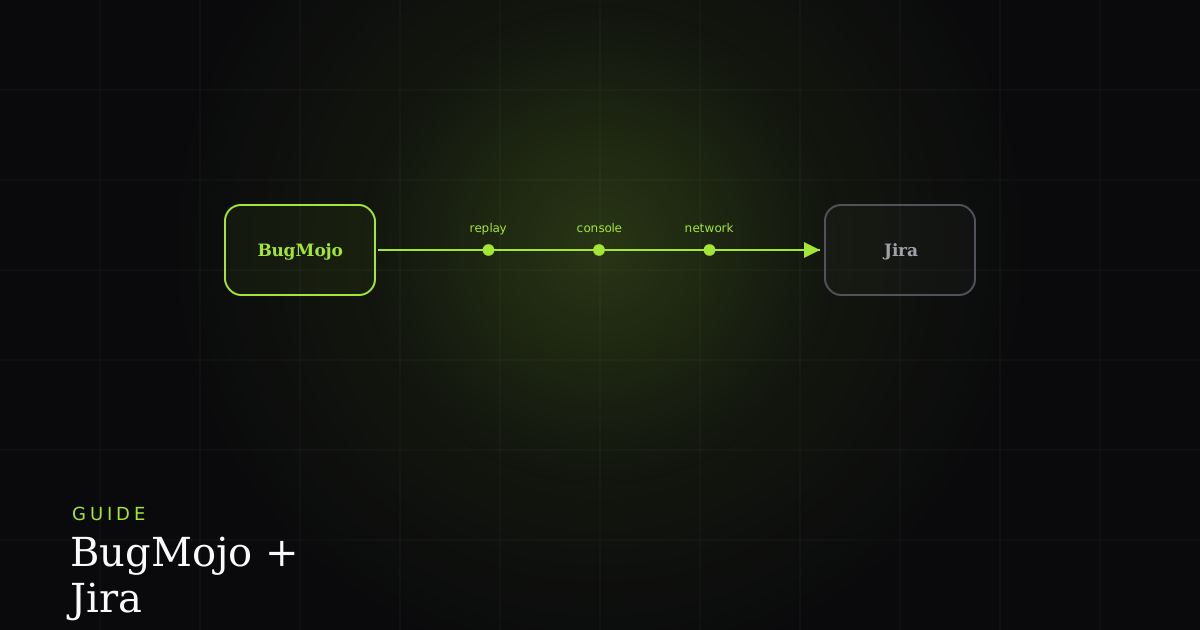
The integration turns every BugMojo capture into a Jira issue, carrying the summary, priority, project, issue type, and a deep link back to the session replay plus console and network context. BugMojo stays the capture layer; Jira becomes the trackable system of record your engineers already work from.
Think of it as a clean division of labour rather than two overlapping tools. BugMojo is the capture surface: a browser extension for Chrome, Edge and other Chromium browsers that records the DOM with rrweb, grabs console logs, network requests, and a screenshot, and redacts PII client-side before anything leaves the page. Jira is where that raw signal turns into planned, assignable, workflow-driven engineering work: sprints, boards, transitions, and reporting. The bridge between them is a single API call, and the value is that a QA tester or a customer-facing teammate never has to leave the page they are on, while engineering never has to leave the board they already live in.
How the sync works under the hood
When BugMojo pushes a capture, it calls the Jira Cloud platform REST API. Specifically, it issues a POST to /rest/api/3/issue, the Create Issue endpoint documented by Atlassian. The request body is a JSON object with a fields key. At minimum, Jira needs to know the target project (fields.project), the issue type (fields.issuetype), and a summary (fields.summary). Version 3 of the API expects the description field in Atlassian Document Format (ADF), a structured JSON document ({ "type": "doc", "version": 1, "content": [...] }) rather than plain text or wiki markup, which is what lets BugMojo embed a clickable replay link inside the issue body. A successful call returns HTTP 201 with the new issue's id, key, and self URL, which BugMojo stores so it can later cross-reference or update the issue.
Before you start
Gather these first so the setup runs without interruption:
- A Jira Cloud site (for example
acme.atlassian.net) and a user with permission to create issues in the target project. - The project key you want bugs to land in: the short uppercase prefix such as
WEBorAPP. - An Atlassian API token (created in the next step) or, for a shared/app-level connection, an OAuth 2.0 client.
- A BugMojo account with admin access, since Settings → Integrations is admin-only.
Step-by-step setup
Step 1: Create a Jira API token
Go to id.atlassian.com/manage/api-tokens and select Create API token. Per Atlassian's documentation, you name the token and set an expiry of up to 365 days. Crucially, the token value is shown only once. Copy it immediately, because you cannot view it again after closing the dialog. If you lose it, revoke the old token and create a new one.
Step 2: Connect Jira in BugMojo
In BugMojo, open Settings → Integrations → Jira → Connect. Enter your Jira site URL (for example acme.atlassian.net), the email of the token owner, and the API token itself. BugMojo combines the email and token into a Basic auth header, verifies the credentials against your site, and lists the projects that account can see.
Step 3: Configure project + issue type
Pick the default project (the project.key, e.g. WEB) and the issue type new captures should use, typically Bug. Optionally enable priority push and label sync so BugMojo's severity and tags map onto Jira's priority and labels fields.
Step 4: Map BugMojo statuses to Jira workflow states
Align the two lifecycles so neither drifts into stale state: for example Open → To Do, In Progress → In Progress, Closed → Done. Customise the mapping if your Jira workflow has extra states such as In Review or Won't Do. Because status transitions in Jira are governed by the project's workflow, map to the transition names your board actually exposes.
The Create Issue request
You rarely need to write this by hand (BugMojo assembles it for you), but seeing the payload demystifies every field-mapping and troubleshooting decision below. Here is the equivalent curl call BugMojo makes when it promotes a capture to a Jira issue:
# Create a Jira Cloud issue from a BugMojo capture
curl --request POST \
  --url 'https://acme.atlassian.net/rest/api/3/issue' \
  --user 'qa@acme.com:ATATT3xFfGF0...' \
  --header 'Accept: application/json' \
  --header 'Content-Type: application/json' \
  --data '{
    "fields": {
      "project":   { "key": "WEB" },
      "issuetype": { "name": "Bug" },
      "priority":  { "name": "High" },
      "summary":   "Checkout button unresponsive on Safari 17",
      "labels":    ["bugmojo", "regression"],
      "description": {
        "type": "doc",
        "version": 1,
        "content": [
          {
            "type": "paragraph",
            "content": [
              { "type": "text", "text": "Repro steps + console/network captured by BugMojo. " },
              {
                "type": "text",
                "text": "Open the session replay",
                "marks": [ { "type": "link",
                  "attrs": { "href": "https://www.bugmojo.com/c/9f3a2" } } ]
              }
            ]
          }
        ]
      }
    }
  }'
Two things are worth calling out. First, --user 'email:token' is how curl builds the Basic auth header. It base64-encodes the pair for you, which is exactly the scheme Atlassian documents for API-token auth. Second, the description is ADF, not a string; the nested link mark is what makes the replay a real hyperlink inside the Jira issue. If you are building a multi-tenant connection instead of a single service account, swap Basic auth for OAuth 2.0 (3LO) and request the classic write:jira-work scope, which Atlassian lists as the scope that authorises creating and editing issues.
Field mapping: BugMojo → Jira
The table below shows how BugMojo capture data lands on Jira issue fields. Treat the exact left-hand labels as illustrative. The point is the shape of the mapping and which Jira field each concept targets.
| Feature | BugMojo capture | Jira field | Notes |
|---|---|---|---|
| Bug headline | Capture title | fields.summary | Required; plain text |
| Repro steps + context | Description + steps | fields.description | Sent as ADF, not plain text |
| Severity | Priority | fields.priority.name | Must be on the Create screen |
| Destination | Configured project | fields.project.key | e.g. WEB |
| Work type | Default issue type | fields.issuetype.name | Usually Bug |
| Ownership | Assignee | fields.assignee.accountId | Jira uses accountId, not name |
| Replay / logs | Capture deep link | Link in description | Auth still required to view |
| Tags | Labels | fields.labels | Array of strings, no spaces |
Troubleshooting
Two more common snags: a 404 on the site URL usually means a typo in the *.atlassian.net host or a trailing path; and if the issue is created but the description renders as a wall of raw JSON, the ADF document is malformed, so validate it against the { "type": "doc", "version": 1 } shape rather than passing a plain string.
When Jira isn't the right fit
This pairing is not for everyone. If your team lives entirely in a lighter tracker such as Linear or GitHub Issues, adding Jira purely to receive BugMojo captures introduces workflow ceremony you may not want. Point BugMojo at that tracker instead. If you have no Jira project permissions to spare, or your Jira instance is locked down with restrictive Create screens and mandatory custom fields, expect to spend the setup time on the Jira side, not the BugMojo side. And if you only need to capture and triage a handful of bugs without formal tracking, BugMojo's Quick Capture mode (zero project setup) may be all you need before any issue tracker enters the picture. The integration earns its keep when engineering already runs on Jira and you want capture-quality bug reports flowing into that existing board without a new tool for anyone to learn.
Privacy and security
For compliance-sensitive teams this split is a feature: the Jira issue is the audit-logged system of record, while the raw capture lives on BugMojo behind your authentication. Treat API tokens like passwords: scope them to a service account, set an expiry, and rotate on a schedule.
Next steps
- Try BugMojo free: no credit card, 5-minute setup.
- Explore other integrations: Slack, Linear, GitHub Issues, Cursor, Claude Code.
- Read the MCP guide: connect AI coding agents to your bug tracker.
Install the free BugMojo extension, capture a replay + console + network trace in one click, and send it to your Jira board as a reproducible issue.
Install the extensionFrequently asked questions
Frequently asked questions
Sources
- The Jira Cloud platform REST API: Issues, Atlassian Developer (2026)
- Basic auth for REST APIs, Atlassian Developer (2026)
- Manage API tokens for your Atlassian account, Atlassian Support (2026)
- Jira scopes for OAuth 2.0 (3LO) and Forge apps, Atlassian Developer (2026)
- Cannot create issue via REST API: Field cannot be set, Atlassian Support (2026)
- Jira official site, Atlassian (2026)
- BugMojo integrations documentation, BugMojo (2026)
Get bug-tracking insights, weekly.
Engineering deep-dives, QA playbooks, and honest tool comparisons. No spam. Unsubscribe in one click.