

How to Integrate BugMojo with GitHub Issues
BugMojo turns each captured bug into a GitHub issue (repro steps, a session-replay link, console and network context, and mapped labels and assignees) using the REST API and webhooks to keep both sides in sync.
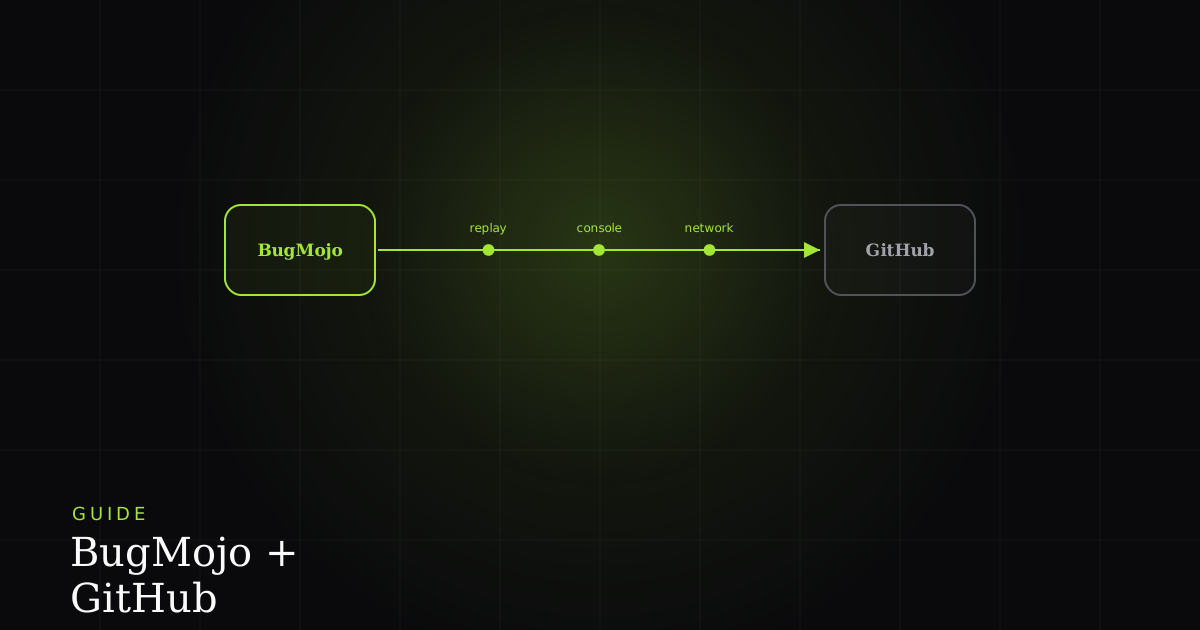
What this integration does
BugMojo converts each captured bug into a GitHub issue. The issue body carries the reproduction steps, a deep link to the session replay, an excerpt of the console errors and failed network requests, and a screenshot reference. Priority maps to labels, the assignee maps to GitHub assignees, and a webhook keeps issue state in sync.
The point of the integration is to remove the copy-paste gap between where a bug is found and where it is fixed. A non-engineer captures a broken flow with the BugMojo browser extension; engineers open a fully-formed GitHub issue with everything they need to reproduce it. Under the hood BugMojo uses the documented Create an issue REST endpoint, then subscribes to a repository webhook so that when someone closes or relabels the issue in GitHub, BugMojo reflects the change. GitHub Issues is deliberately lightweight: it lives next to your code, is free for public and private repositories, and is the natural home for OSS-style teams and anyone who already reviews pull requests all day.
What lands in the GitHub issue
A raw stack trace pasted into a chat message is nearly useless a day later. BugMojo instead writes a structured issue body in Markdown, so the issue is self-contained and searchable inside GitHub. A typical generated issue includes:
- Title: a prefixed, scannable summary such as
[BugMojo] Checkout button unresponsive on Safari 17. - Repro steps: the ordered actions the reporter took, captured automatically rather than reconstructed from memory.
- Replay link: a deep link to the rrweb DOM session replay, viewable behind your BugMojo login.
- Context excerpt: the key console errors and the failed network request(s), inlined as a fenced code block so an engineer sees the smoking gun without leaving GitHub.
- Labels and assignee: priority and type mapped to labels, and the owner mapped to a GitHub assignee where it is a human.
PII redaction runs client-side in the extension before data leaves the browser, so the excerpt that reaches GitHub is already scrubbed of masked fields.
Before you start
Make sure you have:
- A BugMojo account with admin access, since Settings → Integrations is admin-only.
- Write access to the target GitHub repository (you cannot assign issues to people who lack repo access).
- A GitHub personal access token. GitHub offers two kinds: classic and fine-grained tokens. Fine-grained tokens are repository-scoped and expire on a schedule you set, which is the safer default for an integration.
Step-by-step setup
Step 1: Generate a token
GitHub → Settings → Developer settings → Personal access tokens. Choose Fine-grained tokens, set an expiration, select Only select repositories and pick your target repo, then grant the repository permissions above. Copy the token immediately. GitHub shows it once. Never commit it to source; BugMojo stores it encrypted at the application layer and never logs it.
Step 2: Connect BugMojo
BugMojo → Settings → Integrations → GitHub → Connect. Paste the token, then choose the target owner/repo. BugMojo validates the token by making a read call; if it succeeds you will see the repository's existing labels, which you can map to BugMojo priorities in the next screen.
Step 3: Add the webhook for two-way sync
BugMojo displays a webhook URL and a secret. In GitHub go to repository Settings → Webhooks → Add webhook, paste the URL, set Content type to application/json, paste the secret, and subscribe to the Issues and Issue comments events. Per GitHub's webhook events reference, the issues event fires on actions including opened, edited, closed, and reopened, and each delivery carries an X-Hub-Signature-256 header (an HMAC SHA-256 digest of the body keyed by your secret) that BugMojo verifies before trusting the payload.
How the issue is created via the REST API
You do not have to write this code (BugMojo does it for you), but seeing the exact call demystifies the integration and helps you debug it. GitHub's Create an issue endpoint is POST /repos/{owner}/{repo}/issues. title is the only required body field; body, labels, and assignees are optional. Authentication uses an Authorization: Bearer header, and GitHub recommends pinning the API version.
curl -L -X POST \
  -H "Accept: application/vnd.github+json" \
  -H "Authorization: Bearer $GITHUB_TOKEN" \
  -H "X-GitHub-Api-Version: 2022-11-28" \
  https://api.github.com/repos/acme/storefront/issues \
  -d '{
    "title": "[BugMojo] Checkout button unresponsive on Safari 17",
    "body": "Reported via BugMojo capture #4821\n\n**Steps to reproduce**\n1. Add item to cart\n2. Click Checkout (nothing happens)\n\n**Replay:** https://www.bugmojo.com/c/4821\n\n```\nConsole: Uncaught TypeError: cart.total is undefined\nNetwork: POST /api/checkout -> 500\n```",
    "labels": ["bug", "priority:high"],
    "assignees": ["octocat"]
  }'
The equivalent from application code (which is roughly what BugMojo's GitHub adapter runs) is a single fetch:
const res = await fetch(
  `https://api.github.com/repos/${owner}/${repo}/issues`,
  {
    method: "POST",
    headers: {
      Accept: "application/vnd.github+json",
      Authorization: `Bearer ${token}`,
      "X-GitHub-Api-Version": "2022-11-28",
    },
    body: JSON.stringify({ title, body, labels, assignees }),
  },
);

if (res.status === 201) {
  const issue = await res.json();
  // Persist issue.number to correlate future webhook updates.
  await linkCapture(captureId, issue.number);
} else {
  // 401 / 403 / 422 -> surface res.json().errors to the integration log.
  throw new GitHubApiError(res.status, await res.json());
}
A successful create returns HTTP 201 Created with the full issue object, including number and html_url. BugMojo stores that number so that later webhook deliveries (a close, a relabel, a comment) can be matched back to the original capture.
Mapping BugMojo fields to a GitHub issue
The exact mapping is configurable in Settings, but the defaults follow the shape below. Treat this as the illustrative model, and adjust label names and routing to match your repository's conventions.
| Feature | GitHub issue field | Example value |
|---|---|---|
| Bug title | title (string, required) | [BugMojo] Checkout button unresponsive on Safari 17 |
| Description + repro steps | body (Markdown) | Ordered steps + environment metadata |
| Session replay | deep link in body | www.bugmojo.com/c/4821 (auth required) |
| Console + network context | fenced code block in body | TypeError: cart.total is undefined; POST /api/checkout 500 |
| Priority / severity | labels[] | priority:high, bug |
| Assignee (human member) | assignees[] | octocat |
| Assignee (AI agent) | label + MCP owner | agent:triage (no GitHub seat consumed) |
| Project / sprint routing | milestone or label | Sprint 24 |
Assigning to a human or an AI agent
BugMojo's assignee is polymorphic: a bug can be owned by a human member or by an AI agent. This maps cleanly onto GitHub, but not identically for both cases. A human member maps straight to their GitHub username in the assignees array. That's the standard behaviour, and the reason the assignee must have repo access. An AI agent is different: GitHub assignees are people, so BugMojo keeps the agent as the internal owner and expresses it on the issue as a label such as agent:triage. Your AI coding agent then discovers the work through BugMojo's MCP integration rather than a GitHub seat, which means agent-owned bugs never consume assignee slots and never trip org seat limits. If you later reassign the bug from the agent to a person in BugMojo, the integration updates the GitHub assignees array on the next sync.
Troubleshooting
When issue creation fails, BugMojo logs the raw GitHub status code and error body under Settings → Integrations → GitHub → Logs. The three you will actually see map to distinct causes, per GitHub's troubleshooting guide.
When GitHub Issues is not the right fit
An honest guide names the limits. GitHub Issues is excellent when engineering already lives in GitHub, but consider a different destination if: you need rich workflow states and swimlanes beyond open/closed plus labels (a tool like Jira or Linear models that natively); non-engineering stakeholders should never see a code host (issues are visible to anyone with repo access); or you require SLA timers, custom fields, and approval gates. Many teams run BugMojo into GitHub for engineering-owned repos and into a separate tracker for customer-facing tickets. The integration adapters are independent, so routing different projects to different destinations is supported. GitHub Issues also has no built-in concept of a session replay, which is exactly the gap the BugMojo deep link fills.
Privacy and security
For compliance-sensitive teams this split is the whole appeal: lightweight, audit-logged bug metadata lives in GitHub next to the code, while the sensitive replay and raw logs stay on infrastructure you control. Rotate the token on a schedule, scope it to a single repository, and treat the webhook secret like any other credential. GitHub signs every delivery so BugMojo can reject anything that is not genuinely from your repo.
Next steps
- Try BugMojo free: no credit card, a few minutes to first capture.
- Explore other integrations: Slack, Linear, Jira, Cursor, Claude Code.
- Read the MCP guide: connect AI coding agents so agent-owned bugs get picked up automatically.
Frequently asked questions
Frequently asked questions
Sources
- REST API endpoints for issues (Create an issue), GitHub Docs (2026)
- Permissions required for fine-grained personal access tokens, GitHub Docs (2026)
- Managing your personal access tokens, GitHub Docs (2026)
- Webhook events and payloads (issues), GitHub Docs (2026)
- Troubleshooting the REST API, GitHub Docs (2026)
- Fine-grained PAT read-only Issues can still create issues in public repos (community discussion), GitHub Community (2025)
- BugMojo integrations documentation, BugMojo (2026)
Get bug-tracking insights, weekly.
Engineering deep-dives, QA playbooks, and honest tool comparisons. No spam. Unsubscribe in one click.